I like making samples, small swatches of felt where I can let my creativity and curiosity run wild safe in the knowledge that if it doesn't work I haven't wasted a heap of money and time on something that is only fit for being deconstructed into something else or worse, the bin.
Most of these samples were made for a C&G course module where I have to make a scarf to meet someone else's requirements, but I confess, some I made just out of curiosity and don't really have anything to do with the design brief ;o)
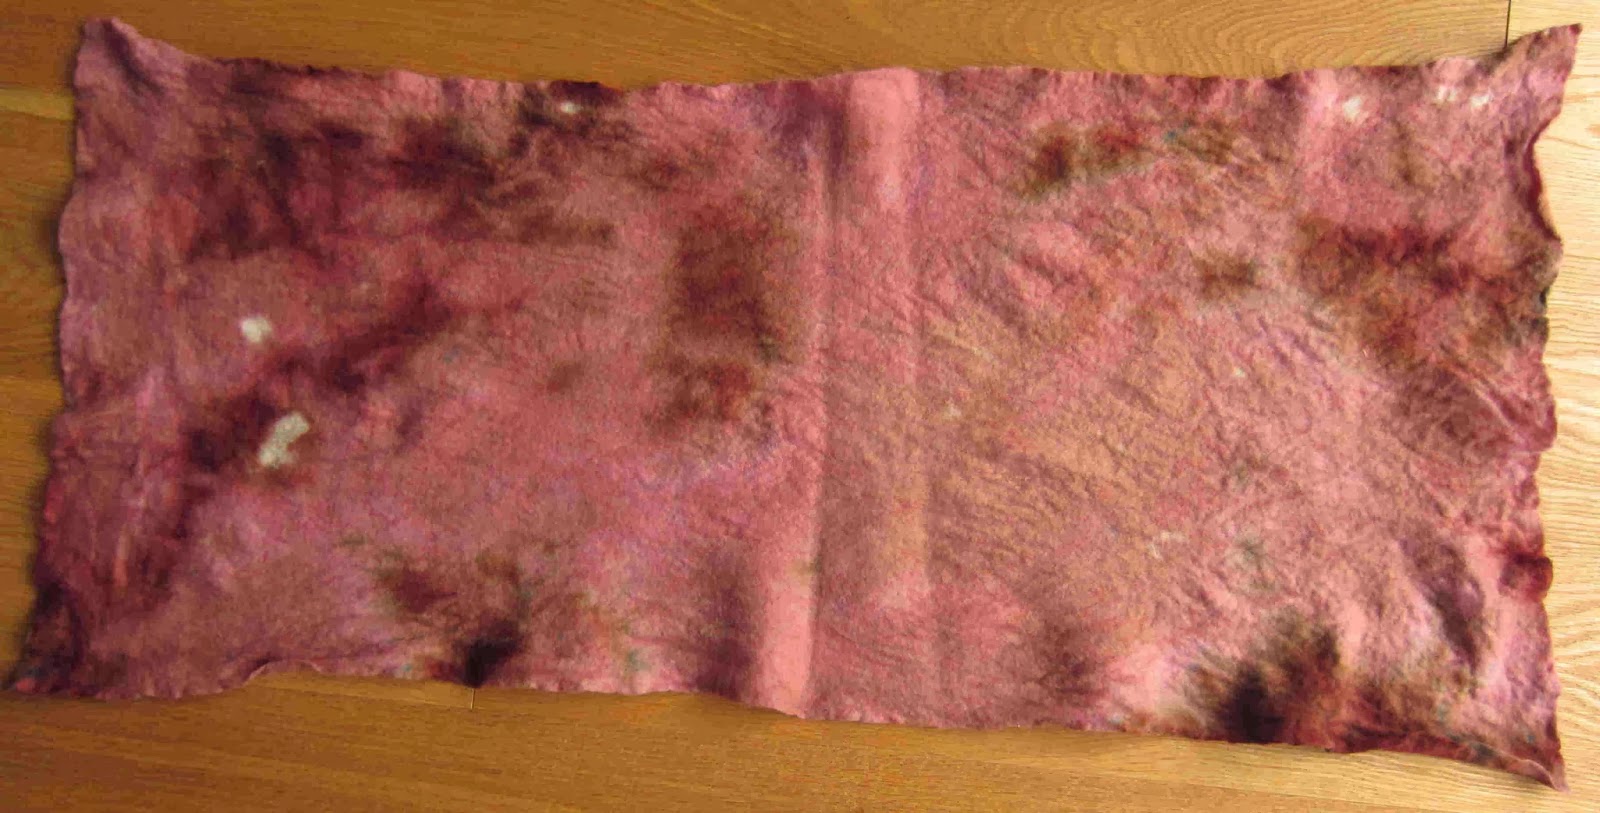
Rainbow dyed ponge 5 silk laminated to merino
Strips of rainbow dyed ponge 5 silk laid in a grid pattern on merino.
Rainbow dyed ponge 5 silk laminated to merino with a grid of rainbow dyed prefelt laid over the top.
Reverse of the piece above - the grid of prefelt on the front has created a relief effect on the back.
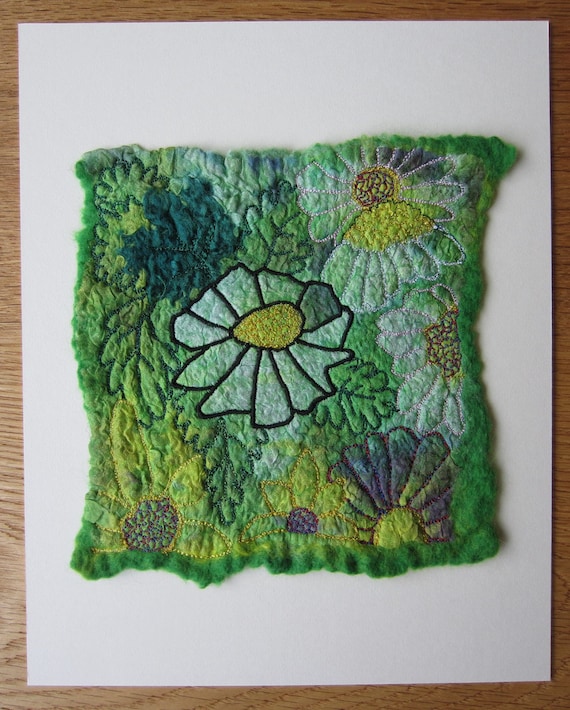
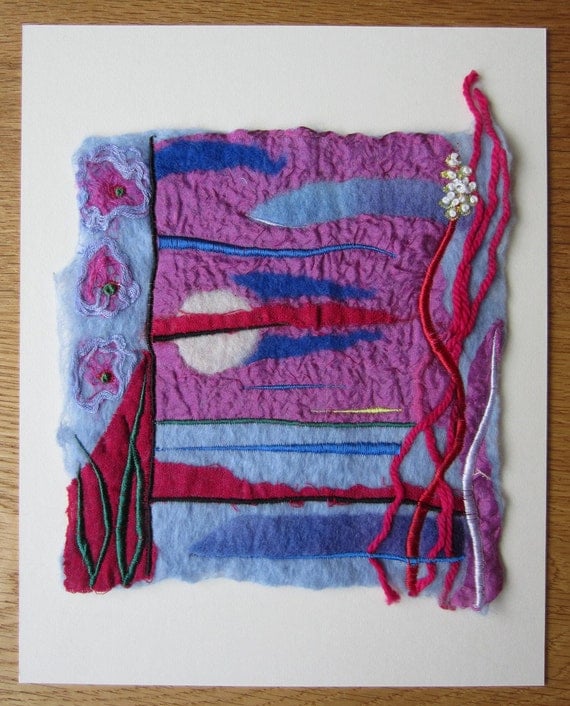
Using wool yarns and pencil roving for decoration. I love how straight lines become wiggly when you felt them!
Rainbow dyed muslin laminated to merino.
Rainbow dyed muslin laminated to merino with pencil roving for decoration.
Rainbow dyed silk chiffon laminated to merino.
Using rainbow dyed cotton scrim as decoration.
White tussah silk top carded with 2 shades of blue merino
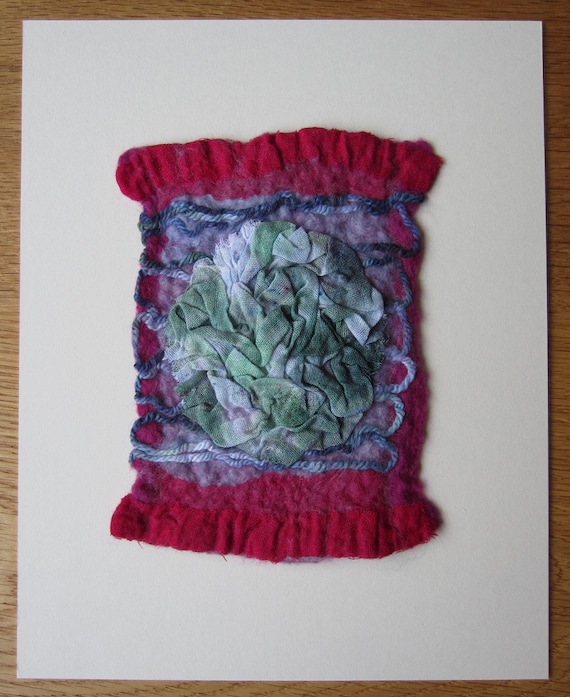
Rainbow dyed silk hanky used as decoration. This one was my favourite, it's not very clear from this photo but the pale green silk has a beautiful sheen and slightly bumpy texture.
Strip of sari silk used as decoration.
Rainbow dyed Wensleydale locks felted into a merino base.
That was quite a productive afternoon :o)
In case you are wondering my friend chose the green silk hanky on a dark purple felt with red/purple dyed ponge 5 silk on the reverse. I hope to share photos of the completed snood next week...